
Affiliate disclosure: This post may contain affiliate links. As an Amazon Associate, I earn from qualifying purchases at no extra cost to you.
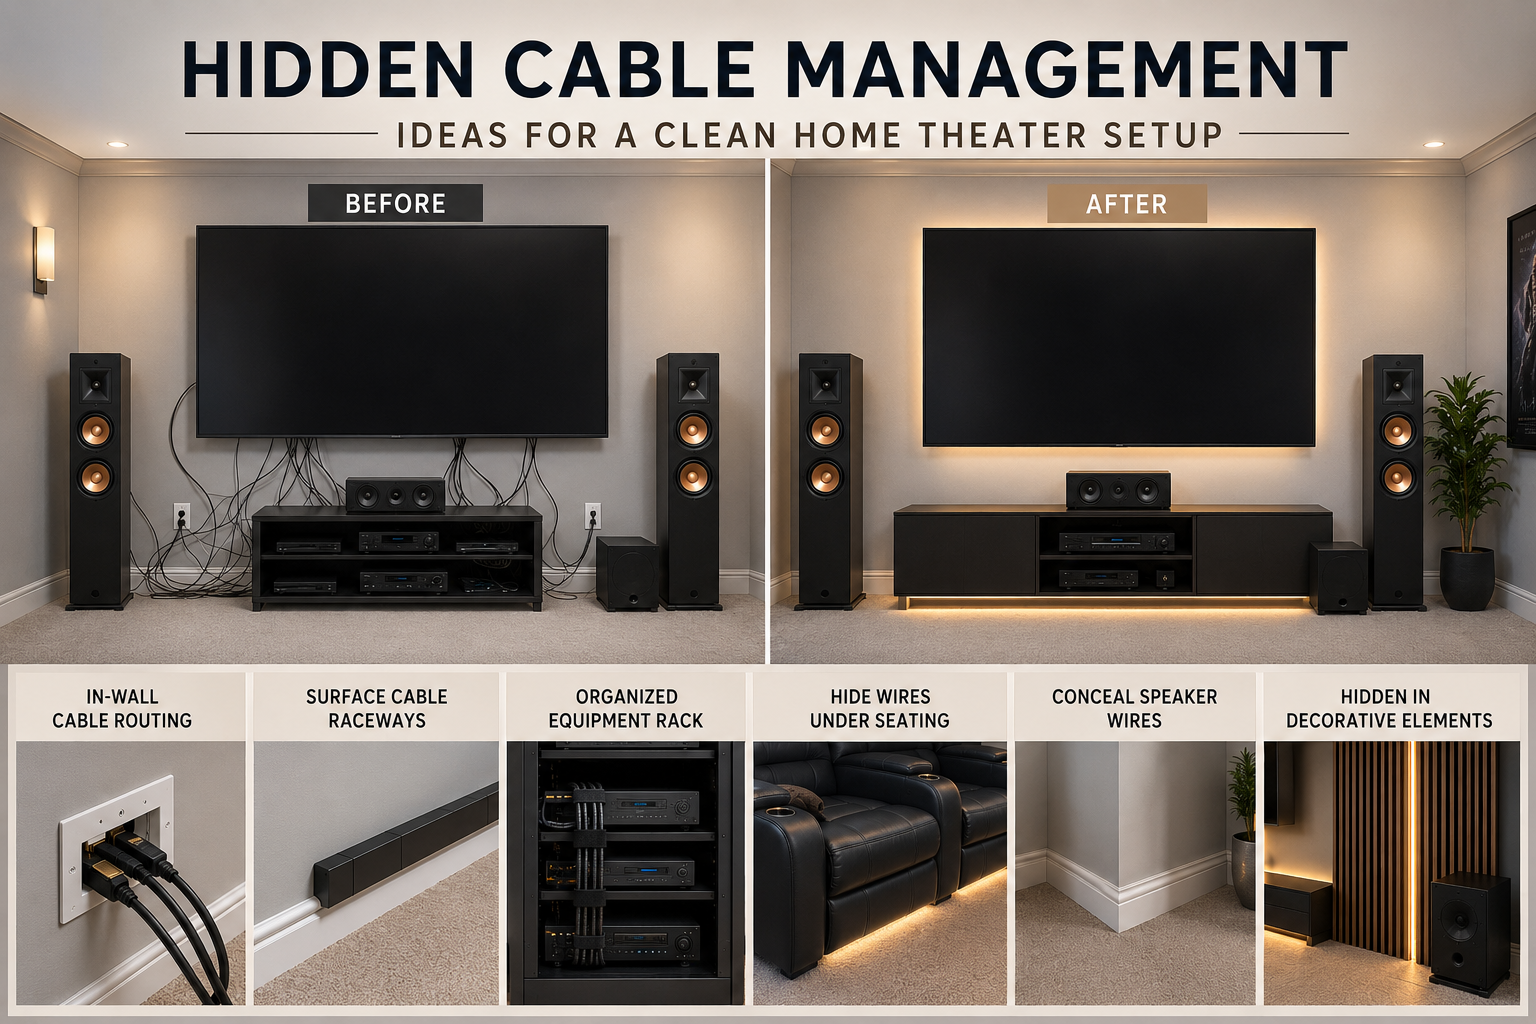
A beautiful home theater is about more than a large screen, comfortable seating, surround sound, and carefully selected décor. The details matter. Even the most impressive setup can feel unfinished if cables hang beneath the television, run along the floor, or are tangled behind the media cabinet.
Cable management is one of the most overlooked aspects of home theater planning, yet it plays a major role in how polished, safe, and functional the space feels. A clean wiring setup helps create the luxury cinema experience many homeowners want and makes the system easier to maintain, upgrade, and enjoy.
Whether you have a dedicated theater room, a multipurpose media room, or a living room entertainment setup, the right cable management strategy can make the space look more professional.
For more planning inspiration, see my guide to Home Theater vs. Living Room: Which Setup Is Better?
Quick Guide to Hidden Cable Management Ideas
Here is a simple way to choose the best cable management option for your home theater:
| Cable Problem | Best Starting Point |
|---|---|
| Cords hanging below a wall-mounted TV | In-wall cable kit or paintable cable raceway |
| Visible wires in a finished room | Paintable cable raceways |
| Tangled cords behind a media cabinet | Velcro cable ties and cable labels |
| Power strips and adapters on the floor | Cable management box |
| Recliner or seating wires | Low-profile floor cord covers or under-rug cable protectors |
| Speaker wires along the room | Baseboard raceways, crown molding, or in-wall rated speaker wire |
| Projector cables | Ceiling raceway, in-wall routing, or false beam |
| Future upgrades | Labeled cables and service loops |
| Heat behind electronics | Better spacing and ventilation |

Why Cable Management Matters in a Home Theater
Most home theaters require more wiring than people expect. With televisions, projectors, receivers, speakers, subwoofers, streaming devices, gaming consoles, lighting controls, power management equipment, and networking components, the number of cables can quickly become overwhelming.
Without a plan, wires can end up visible, tangled, or difficult to access. This affects not only the room’s appearance but also creates safety and performance issues.
Proper cable management helps:
- Create a cleaner, more luxurious appearance
- Reduce visual clutter
- Prevent trip hazards
- Make troubleshooting easier
- Simplify future upgrades
- Improve airflow around electronics
- Protect cables from damage
- Keep the room feeling intentional and finished
Guests may not immediately notice perfectly hidden wiring, but they will notice when a theater feels clean, calm, and professionally designed.
Plan Cable Routes Before Installing Equipment
One of the biggest mistakes in home theater design is installing equipment first and thinking about cables afterward. Once the screen is mounted, furniture is placed, and cabinets are installed, hiding wires becomes much more difficult.
Before mounting a television or projector, take time to map out your cable routes. Consider where each component will sit and how every device will connect.
Plan for:
- Screen or projector location
- Speaker placement
- Subwoofer locations
- Receiver or equipment rack placement
- Power outlets
- HDMI routing
- Network connections
- Lighting controls
- Seating with power or USB features
- Future upgrades, such as Dolby Atmos speakers or additional subwoofers
Even a simple sketch can help prevent messy rewiring later. Think about what your system needs today, and consider how it may expand in the future.
For help thinking through layout and equipment placement, see my guide to How to choose the perfect seating layout.
Hide Cables Inside the Wall for the Cleanest Look
For homeowners seeking the most seamless finish, in-wall cable routing is often the best option. This method hides television wires, HDMI cables, speaker wires, and low-voltage lines within the wall, leaving only the screen, speakers, and equipment visible.
In-wall cable management works especially well for:
- Wall-mounted televisions
- Projector systems
- Front speaker installations
- Floating media consoles
- Built-in entertainment walls
- Dedicated theater rooms
The biggest advantage is aesthetics. Instead of seeing cords dangling from a mounted screen, the wall remains clean and uncluttered. This instantly gives the room a more custom, high-end feel.
However, it is important to use in-wall-rated cables and to follow local electrical codes. Power cables should not be simply hidden inside drywall unless they are properly installed. If electrical work is involved, hiring a licensed electrician is often the safest choice.
Use Cable Raceways in Finished Rooms
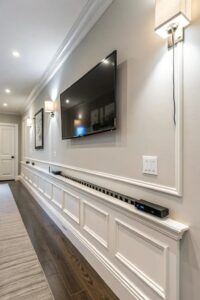
Not every room is built from scratch, and not everyone wants to cut into drywall. For existing spaces, cable raceways are a practical and affordable alternative.
Cable raceways are slim channels that mount directly to walls and conceal wires behind removable covers. Many can be painted to match the wall color, helping them blend into the room.
Raceways work well for:
- Rear surround speakers
- Wall-mounted televisions
- Projector wiring
- LED lighting strips
- Network cables
- Temporary or rental-friendly setups
While raceways are not as invisible as in-wall wiring, they can still look very clean when installed neatly. Choose straight routes, avoid unnecessary turns, and paint the raceway to match the surrounding surface whenever possible.
Helpful Amazon searches for cable raceways
Cable raceways are one of the easiest ways to hide wires in a finished home theater, living room, or media room without opening the wall.
- Paintable Cable Raceway — best for hiding TV, speaker, projector, or LED wires along a wall
- Wall Cord Cover Kit — best for cleaning up cords below a wall-mounted TV
- Baseboard Cable Raceway — best for running speaker wires around the edge of a room
Organize Equipment Racks and Media Cabinets
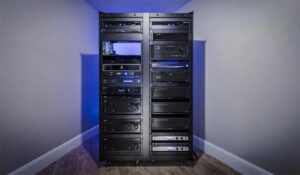
The area behind a receiver, amplifier, or media cabinet is often where cable chaos begins. Streaming devices, gaming consoles, Blu-ray players, amplifiers, receivers, and power strips all create numerous connections in a small area.
Start by pulling everything out and separating cables by function. Group power cables, speaker wires, HDMI cables, network lines, and control cables.
Use Velcro cable ties instead of plastic zip ties whenever possible. Velcro makes it easier to adjust, remove, or replace cables later. Zip ties can work, but they often need to be cut when changes are made.
Label every cable clearly. This small step can save a lot of frustration later, especially when troubleshooting or upgrading equipment.
Label:
- Speaker locations
- HDMI inputs
- Power connections
- Network lines
- Subwoofer cables
- Streaming devices
- Gaming consoles
Also, leave service loops by keeping a little extra cable length behind the equipment. Cables should not be pulled tight. A small amount of slack allows components to move forward for service without disconnecting everything.
Helpful Amazon searches for media cabinet cable organization
The area behind a receiver, streaming device, gaming console, or media cabinet can get messy fast. A few simple organizers can make the setup easier to clean, troubleshoot, and upgrade later.
- Velcro Cable Ties — best for bundling HDMI, speaker, power, and network cables without making changes difficult
- Cable Labels — best for labeling speakers, HDMI inputs, gaming consoles, and power cords
- Cable Management Box — best for hiding power strips, adapters, and extra cord length near a media cabinet
Hide Wires Around Recliners and Seating
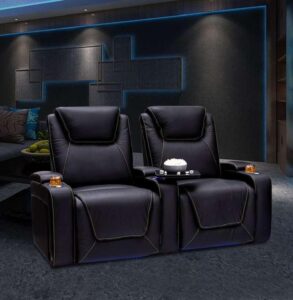
Modern theater seating often includes power recline, USB charging ports, cupholder lighting, LED accents, or bass shakers. These features are convenient, but they also introduce more wiring.
The goal is to keep cords away from walkways and out of sight. Cables running across the floor can create trip hazards and make the room feel unfinished.
Good seating cable management options include:
- Under-rug cable protectors
- Low-profile floor cord covers
- Wire channels along seating risers
- Hidden routing beneath platforms
- Floor outlets near seating rows
- Cable sleeves behind recliners
If you are building a dedicated theater with risers, plan wire access before the platform is finished. This makes it much easier to power recliners or add lighting without visible cords.
For seating inspiration, see my guide to What to look for in a comfortable home theater recliner.
Helpful Amazon searches for floor and seating cable safety
Seating wires are easy to overlook, especially if your recliners have power, USB charging, lighting, or bass shakers. The goal is to keep cords away from walkways and out of sight.
- Low Profile Floor Cord Cover — best for reducing trip hazards when a cord has to cross an open walkway
- Flat Extension Cord Under Rug — best for routing power more discreetly beneath or near a rug
- Cable Sleeve for Home Theater Wires — best for grouping recliner, lamp, speaker, or charging cables behind seating
Conceal Speaker Wiring Creatively
Speaker wires can be challenging, especially in surround sound and Dolby Atmos layouts. Rear speakers, side speakers, ceiling speakers, and subwoofers all need clean wiring paths.
Depending on the room, speaker wire can be hidden:
- Behind crown molding
- Under baseboards
- Inside cable raceways
- Beneath carpet edges
- Inside walls
- Behind acoustic panels
- Within columns or decorative trim
Acoustic panels are especially useful because they can improve sound quality while also hiding wiring. Fabric-covered walls, decorative panels, and theater columns can all serve a dual purpose.
Keep Power and Signal Cables Separate
One detail many beginners miss is the importance of separating power cables from signal cables. Running power cords directly alongside HDMI cables, audio cables, or speaker wires may increase the risk of interference.
Whenever possible, keep power lines separated from:
- HDMI cables
- Speaker wiring
- Audio interconnects
- Network cables
- Subwoofer cables
This does not mean every cable must be several feet apart, but avoiding tight parallel runs can help preserve signal quality. When cables must cross, try to cross them at a 90-degree angle rather than running them side by side for long distances.
Use Décor to Hide Cables
Some of the best cable management solutions are built into the room’s design. Instead of treating wires as an afterthought, use architectural and decorative features to hide them.
Creative options include:
- Floating shelves that hide equipment wiring
- Decorative wall panels that conceal speaker cables
- Theater columns that house surround speakers
- False beams that hide projector cables
- Built-in cabinets with rear cable access
- Star ceilings that conceal lighting wires
- Fabric walls that hide low-voltage lines
These details allow the room to look elegant while still supporting the technology behind the experience.
For more visual upgrades, see my guide Home Theater Accessories and Decor.
Don’t Forget Ventilation and Maintenance
A clean setup should still be practical. The goal is not just to hide cables but to organize them in a way that keeps the system easy to access and safe to operate.
Avoid packing cables too tightly behind equipment. Electronics need airflow, especially receivers, amplifiers, gaming consoles, and media servers. Overcrowded cabinets can trap heat and shorten the life of your equipment.
For airflow and equipment comfort, see my guide to Home Theater Ventilation and Temperature Control.
Also, avoid permanent solutions that make future maintenance difficult. Do not block access panels, bury important connections, or create bundles that cannot be adjusted.
A good cable management setup should be:
- Neat
- Safe
- Accessible
- Flexible
- Easy to upgrade
Your future self will appreciate being able to swap a cable, add a device, or troubleshoot a connection without taking the entire system apart.
More Home Theater Organization Ideas
If you are trying to make your theater room cleaner, safer, and easier to use, these guides can help:
- How to Organize a Home Theater
- Home Theater Accessories and Decor
- How to Choose the Perfect Home Theater Seating Layout
- What to Look for in a Comfortable Home Theater Recliner
- Home Theater Ventilation and Temperature Control
Frequently Asked Questions
What is the easiest way to hide home theater cables?
The easiest option in a finished room is usually a paintable cable raceway. It can hide wires along a wall without cutting into drywall, and you can paint it to blend with the room.
Can I hide TV power cords inside the wall?
You should not simply run a standard power cord inside the wall. Use a proper in-wall power kit or hire a licensed electrician if electrical work is needed.
How do I hide wires behind a media cabinet?
Start by unplugging and sorting everything by type. Use Velcro cable ties, cable labels, and a cable management box to group wires, identify each connection, and hide extra cord length.
How do I hide speaker wires in a home theater?
Speaker wires can be hidden inside walls, under baseboards, behind crown molding, inside cable raceways, beneath carpet edges, or behind acoustic panels.
How do I keep recliner cables from showing?
Use floor cord covers, under-rug cable protectors, cable sleeves, or hidden routing beneath risers. Keep cords away from walkways so the seating area stays safe and clean.
Why should power and signal cables be separated?
Power cords can sometimes create interference when they run too closely beside HDMI cables, speaker wires, or audio cables for long distances. When possible, keep them separated or cross them at a 90-degree angle.
Final Thoughts
A home theater should feel immersive, comfortable, and refined. Visible wires can distract from that experience and make even an expensive system feel incomplete.
Hidden cable management may not be the most exciting home theater upgrade, but it is one of the most impactful. Clean wiring instantly elevates the room, improves safety, protects equipment, and helps maintain the luxury cinema feel. Whether you choose in-wall routing, surface raceways, organized media cabinets, hidden seating wires, or decorative design solutions, cable management is an upgrade that benefits almost every theater setup
How do you hide cables in your setup? Have you gone fully hidden, or are visible wires still on your upgrade list?

Lisa is the creator of Home Cinema Living. Together with her husband, a longtime home theater professional, she has spent years designing and enjoying home theater spaces that bring family and friends together for memorable movie nights.
The opening line about cables breaking the illusion of a well-designed room is spot on; it’s one of those things you can’t unsee once you notice it. What makes this guide stand out is the planning-first mindset. Most people treat cable management as an afterthought, and then wonder why their setup looks messy even after spending thousands on equipment.
The tip about keeping power and signal cables separated is underrated. A lot of DIY builders skip this and then blame their gear when they get interference or hum in the audio.
Velcro ties over zip ties is also a small but genuinely useful call; anyone who’s ever had to swap out a device buried in a zip-tied bundle knows exactly why that matters.
The point about leaving service loops is something even experienced installers sometimes skip in a rush. That extra slack has saved so many setups during equipment swaps.
Solid, practical guide from start to finish.
Thanks, Andrejs! I appreciate the thoughtful feedback. I’m glad the practical tips, especially around cable separation, Velcro ties, and service loops, stood out. Thanks for taking the time to read and comment!